
So many people have been asking me for lessons in taking better photographs, and while I'd love to run a course, I probably won't have this up and running until the winter. So for now, I thought I would share a series of #toptipTuesday posts with easy ways that everyone can improve their photography.
To be clear, these tips do not require a professional camera. All examples I will share will be taken on my phone (just to even out the playing field haha!).
Today, I want to talk about the four corners rule.
I have my Dad to thank for this one. My Dad is a keen photographer, who taught me a lot when I was first playing with his old film Minolta. This tip has stayed with me always, and even now as a professional photographer, I use it all the time.
The rule is;
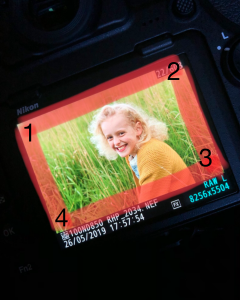
Now, the frame is what you can see through the viewfinder (the camera eyepiece) or if you're on a phone, then on your screen. In the picture on the right, the 'frame' is marked in red, and the four corners I'm referring to are numbered in black.
To apply this rule. Position your subject (be that a person, a group of people, an object or a landscape), then before you take your picture, make a quick check around all four corners of the frame.
Now this might seem super simple, but you'd be amazed at how few people actually do it, and what a massive difference it can make to your every day photography.
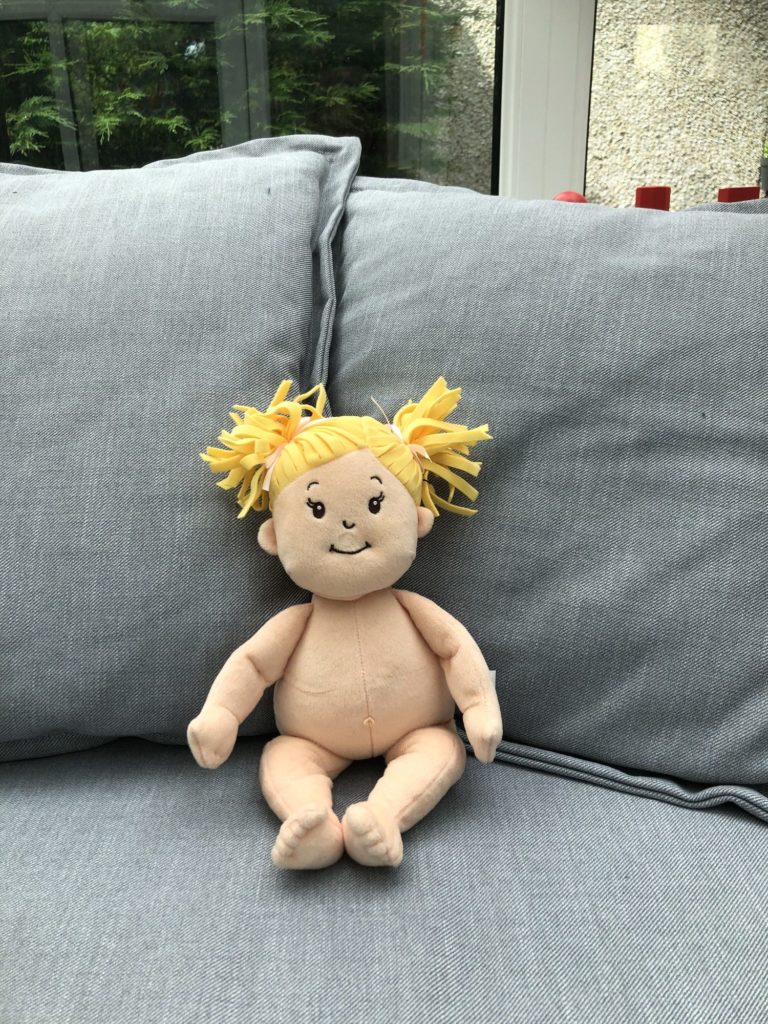
Here are some examples. These are taken in my backyard (excuse the un-mowed grass ?) with my daughters doll, on my iPhone.
Take a look at this first photo. It's an ok picture.
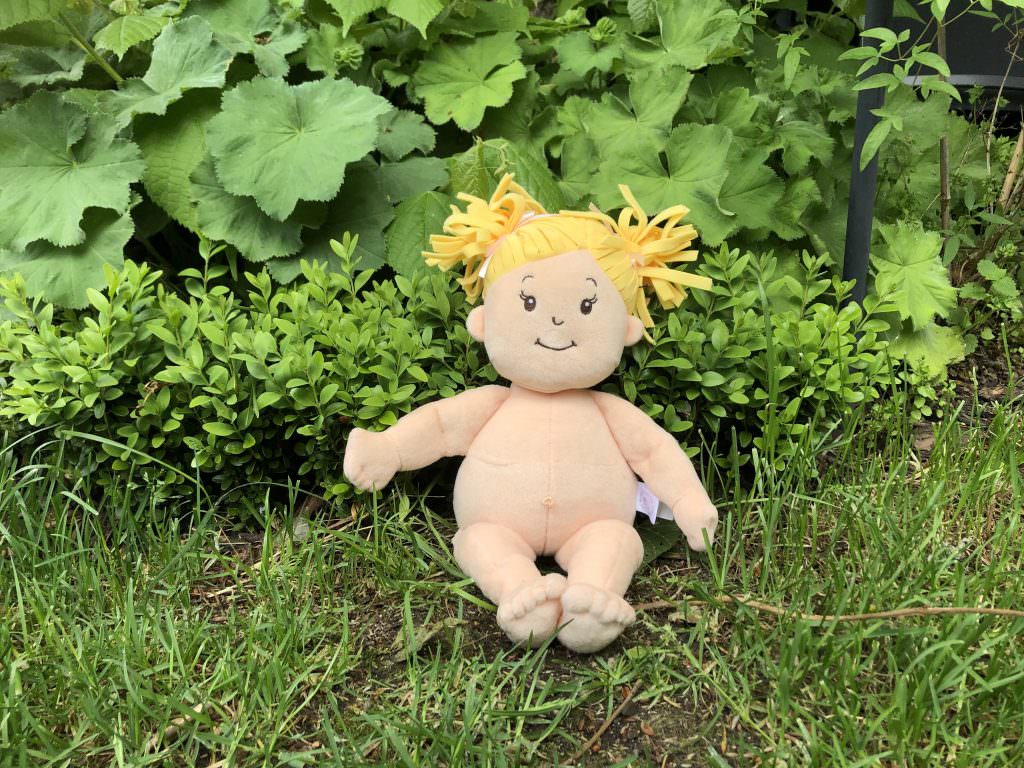
But if we look at all four corners we can see a big distraction in one corner (highlighted here in red).

The black pole isn't the end of the world, sure, but it's distracting.
Simply by asking our 'subject' to move along a bit, this is what we get.
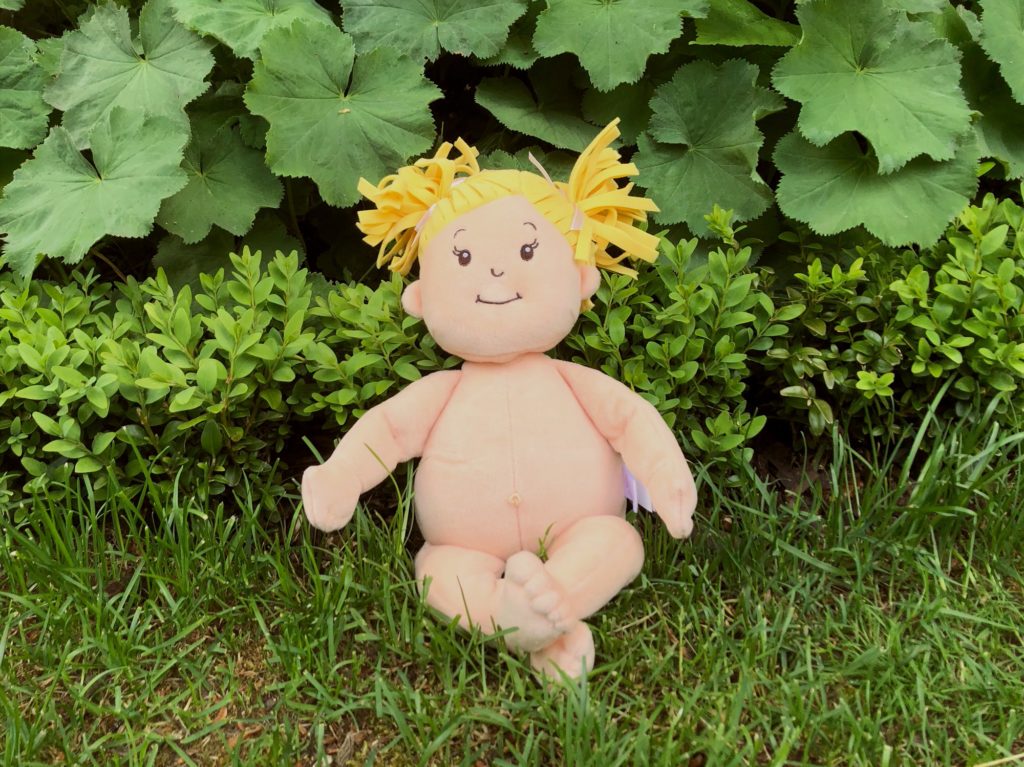
A much better image, where the focus is primarily on the subject. There isn't anything around the edges distracting the person looking at the image.
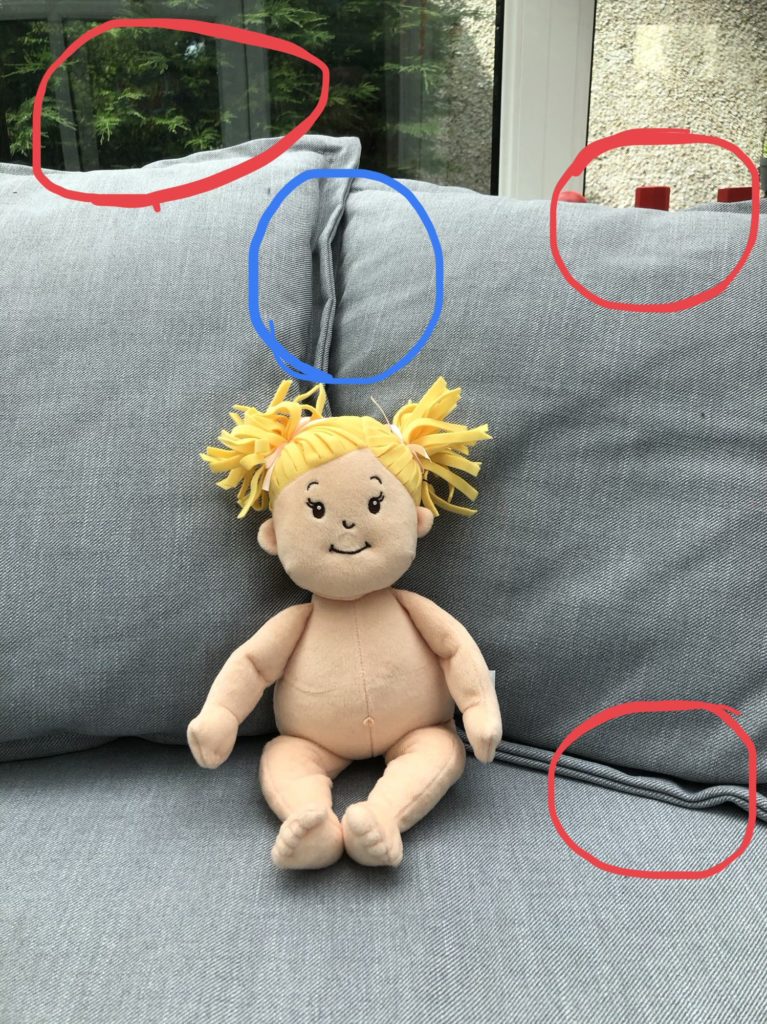
Here's another example. It's a simple picture of a smiling child... Who cares about the background, right?
Well if you look at the four corners you'll notice the things circled in red... The top of another object, window, reflection and greenery, edge of the cushion. Then, since you're already looking you might also find yourself getting annoyed about the edge of the cushion coming out of her head (circled in blue).
Here's a much better way to position the subject.
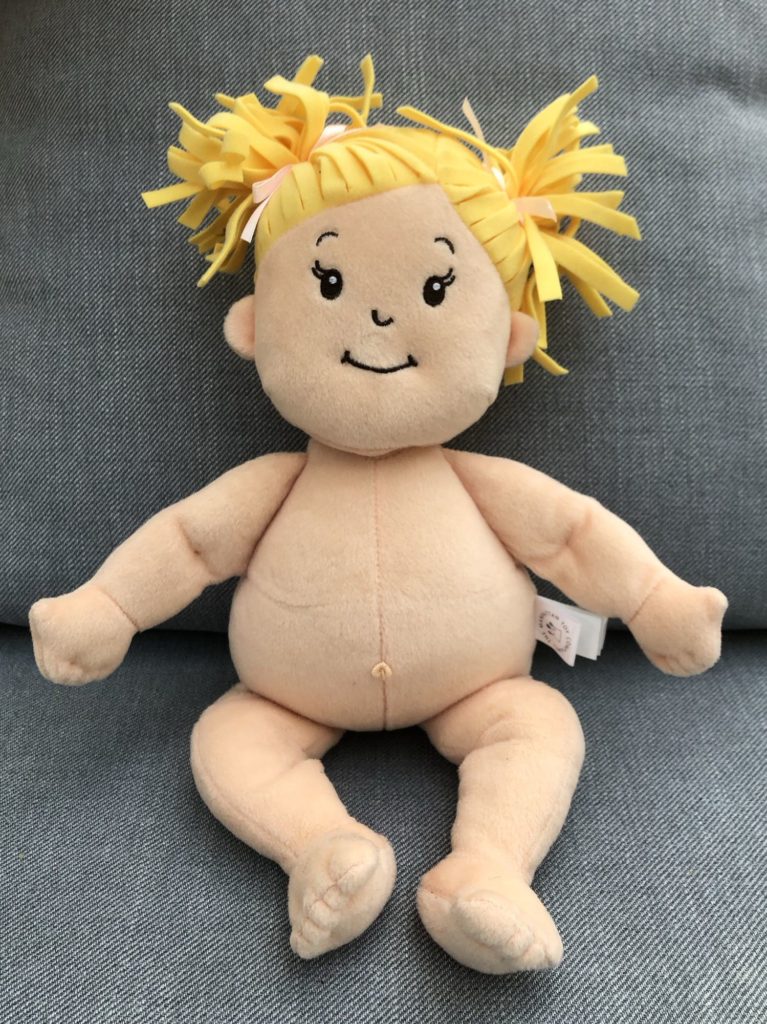
Again, it's not perfect (the crease in the top right corner is annoying me now!), but I'm sure you get the idea!
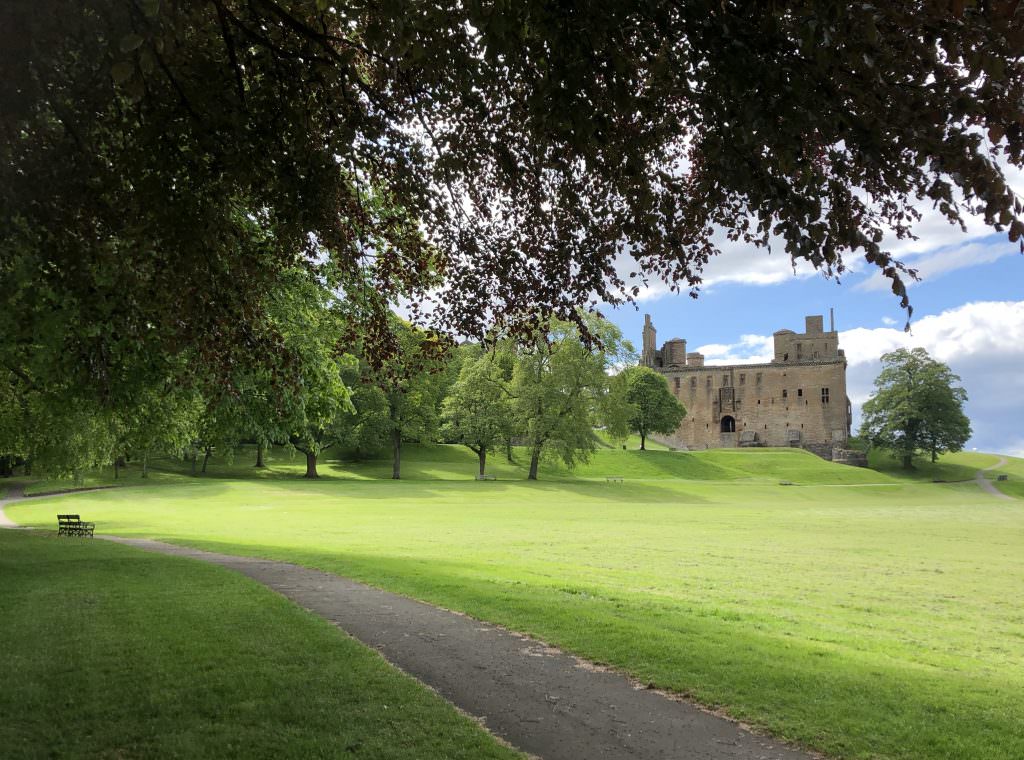
The four corners rule applies not just to photographing people, but also objects and landscapes.
Look at these examples.


Essentially getting into the habit of looking at the four corners of your frame helps you to be conscious about what's going into your picture and what you're leaving out.
So next time you're taking a simple snap, have a quick glance around the four corners and I bet it will make a massive difference to your photography!
You might even find that adding things to the four corners would be good for the picture, like this...

I'd love to see your examples in the comments below ?
Till next time!
Rebecca x